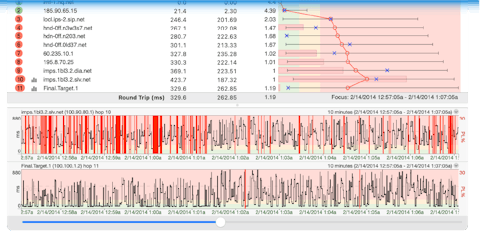
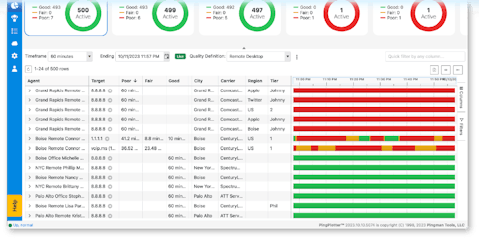
Troubleshooting with PingPlotter
Now that you have a better understanding of what PingPlotter does, it’s time to put it to use.

We’re going to follow a few steps to find the network problem, figure out what’s causing it, and do everything we can to fix it.
Step 1: Find a Target
You need to figure out where your data’s going so you can trace its route correctly. Sometimes, the target is obvious (like the IP address for a game server). Other times, you may not be so sure. Luckily, there are a number of resources available to find the right target for a trace.
Step 2: Trace it!
With a target in place, you’re all ready to start sending trace packets. Let’s hit that Start button and see what happens!
Step 3: Record the Results
PingPlotter will be capturing a lot of useful data, but it’s up to you to catch the network problem in the act. Once you think you have it, you’ll need to save the results to send to the right people or reference for yourself.
Step 4: ??? (Interpret the Results)
This step is probably the most daunting, but don’t worry. Nobody’s born with the whole of networking knowledge lodged in their noggin. By using some key indicators, you can narrow down the list of worst offenders to get a pretty good idea of what’s happening and where. We’ve compiled our best resources to help you nail down what’s causing you grief.
Step 5: Fix the Problem
Identifying the issue is good, but fixing it is better. If the problem is within your control, you can use PingPlotter’s collection of networking knowledge to fix it. If the problem exists somewhere out of your control, you can compile the evidence and present your findings to the right people.
Now, let’s get this party started!

